xTool M2 Review: Diode Laser Cutting, Engraving and CMYK Printing in One Machine
- Published
- Author
- Will Zoobkoff
- Reads
- 993
The enclosed M2 pairs a 10W or 20W diode laser with optional CMYK printing; hands-on tests cover wood, slate, leather, metal, tumblers and stickers.
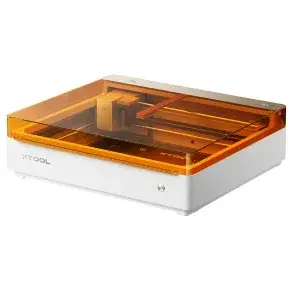
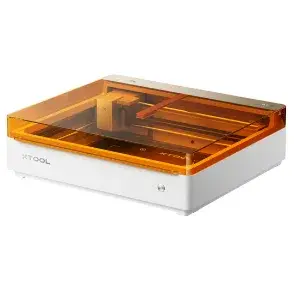
The xTool M2 combines an enclosed diode laser cutter and engraver with an optional full-colour inkjet module. That mix makes it a compact production tool for projects that move between printed graphics and laser-cut outlines, while its magnetic tool mounts make it quick to change functions. xTool has also simplified the design compared with the M1 Ultra: the M2 drops blade-cutting tools and focuses on laser work and printing.
Hands-on testing covered engraving and cutting on several materials, printing stickers and photographs, and using the optional RA3 Lite rotary attachment on a tumbler. The results point to a machine suited to detailed craft and small-batch work, with the usual need to tune settings to the material and check compatibility before processing.
Machine configuration and specifications
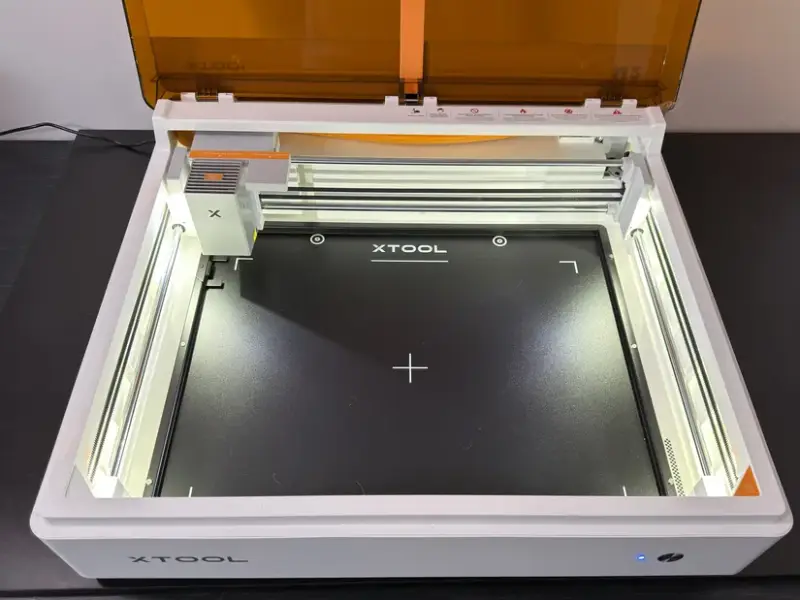
The M2 is available with a 10W or 20W blue-diode laser. An optional 3W infrared module extends engraving options to additional metals and plastics. The laser work area is 426 × 320 mm, and the inkjet work area is 300 × 294 mm. xTool lists a maximum processing speed of 600 mm/s and maximum single-pass cutting of up to 8 mm basswood with the 10W module, or up to 10 mm with the 20W module.
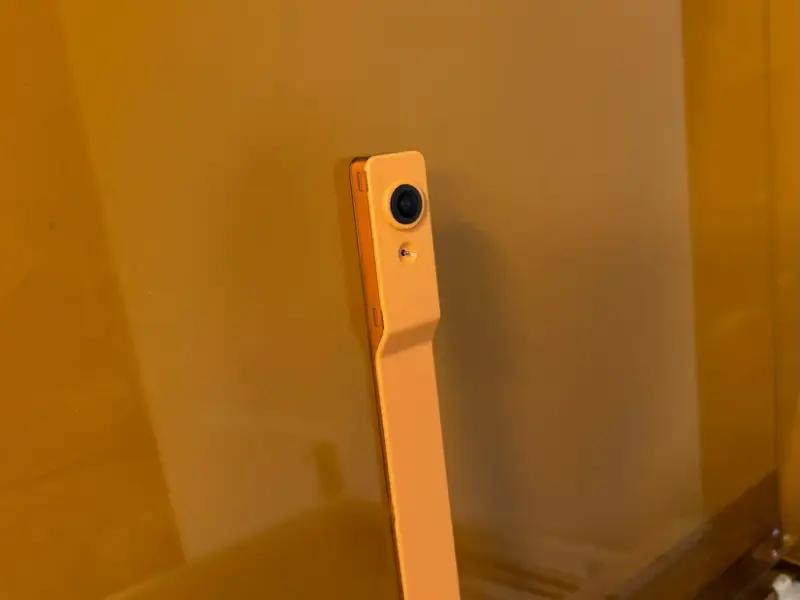
Laser spot size depends on the installed diode module: 0.06 × 0.04 mm for the 10W version and 0.08 × 0.06 mm for the 20W version. The print module uses CMYK inks, including a dedicated true-black ink. Two cameras support positioning: a 5MP close-view camera and a 16MP distance-view camera. The enclosure is rated Class 1, and an adjustable air-assist pump is built into the machine.
The M2 measures 610 × 569 × 180 mm and weighs 12.3 kg. It supports SVG, DXF, JPG, JPEG, PNG, BMP, TIF, PDF and PDS files through xTool Studio. With the RA3 rotary attachment, the stated object diameter capacity is 0–100 mm without a riser base.
Setup, tool changes and enclosure
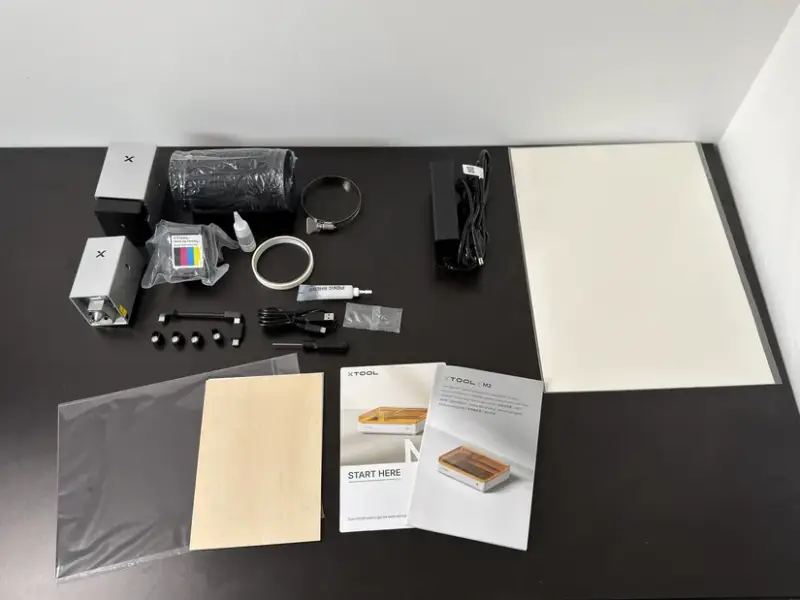
The standalone package includes the machine, laser module, connection cable, power adapter and cable, USB cable and adapter, exhaust pipe, clamp, grease, a material pack, four magnetic fixtures, a hex screwdriver, masking tape, two M3×6 screws, safety instructions and an instruction card. Package contents may change, so check the product listing for the current configuration.
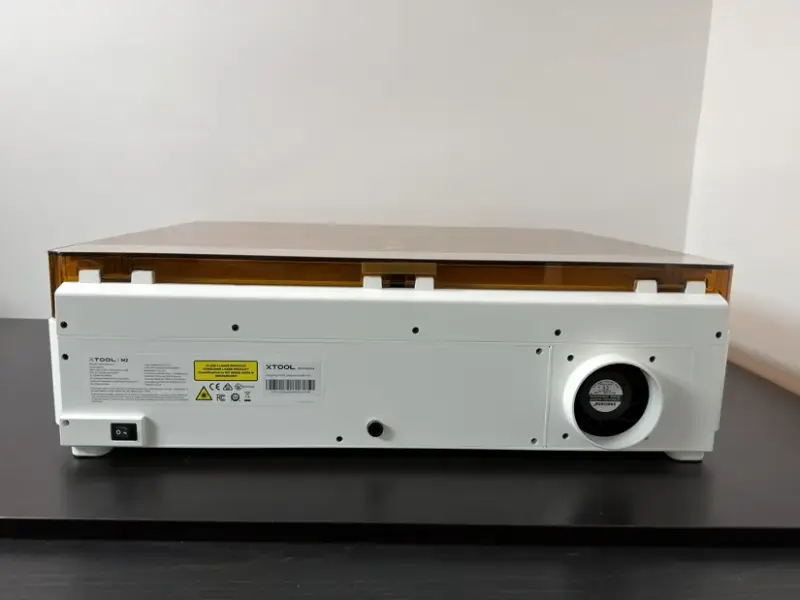
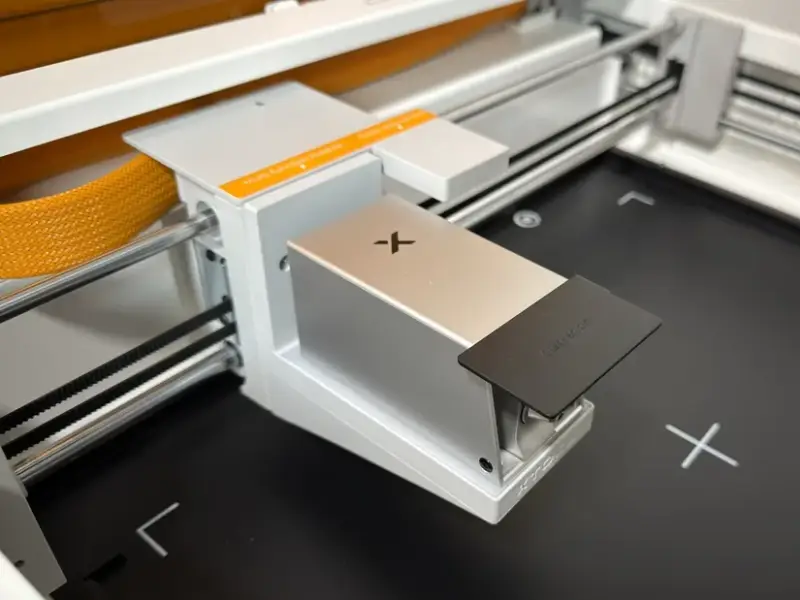
Initial setup involves removing protective foam and accessories from inside the enclosure, greasing the front and rear linear shafts, attaching the exhaust hose, and installing the chosen module. The laser and inkjet heads connect to the carriage with magnetic mounts and a single cable. Once the power and USB connections are in place, xTool Studio guides machine connection and any available updates. Setup instructions, maintenance guidance and troubleshooting information are available through the M2 support page.
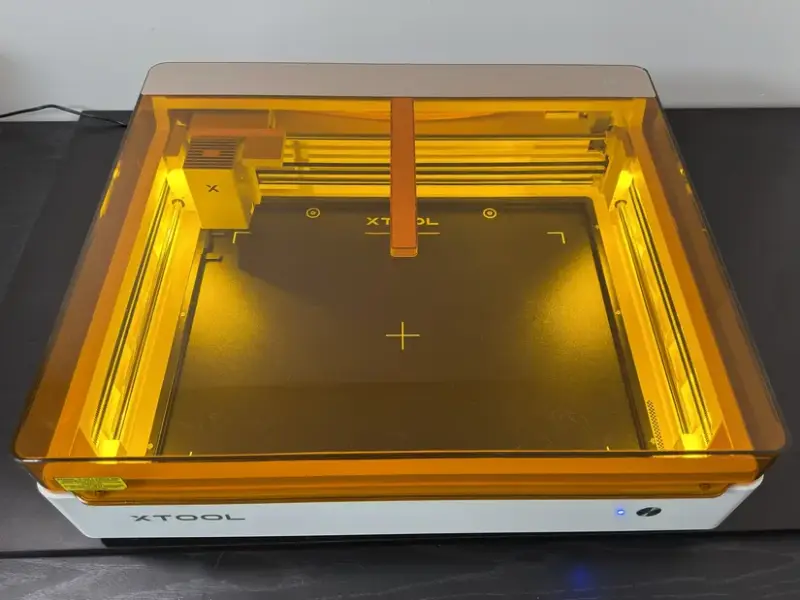
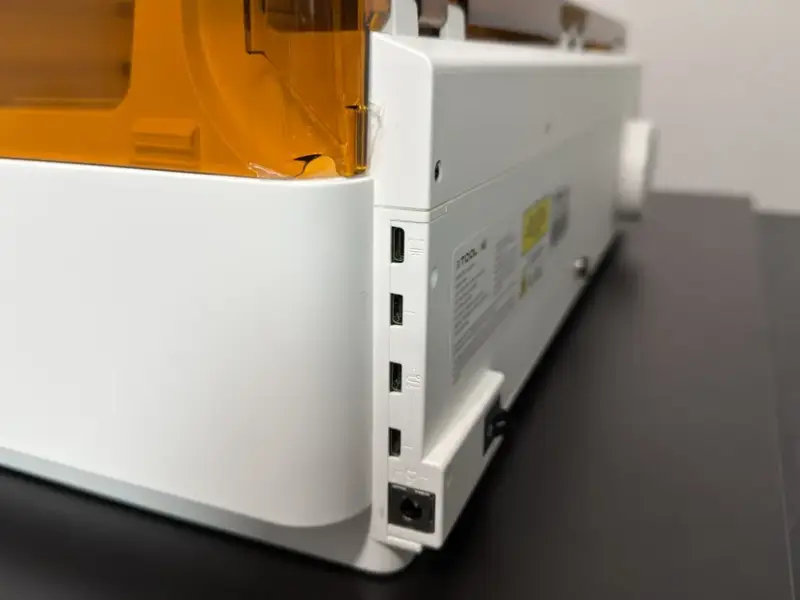
The integrated air-assist pump removes the need for the separate external pump used with the M1 Ultra, reducing equipment and cabling around the work area. A dual-camera view helps place designs on the material and check alignment. The enclosure and camera arrangement also make it easier to observe the job without opening the lid during operation.
Optional print and rotary modules
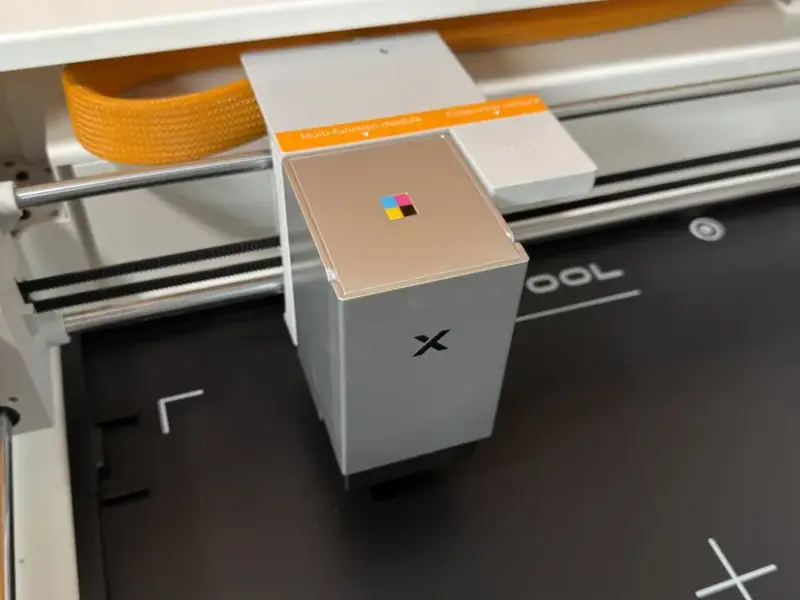
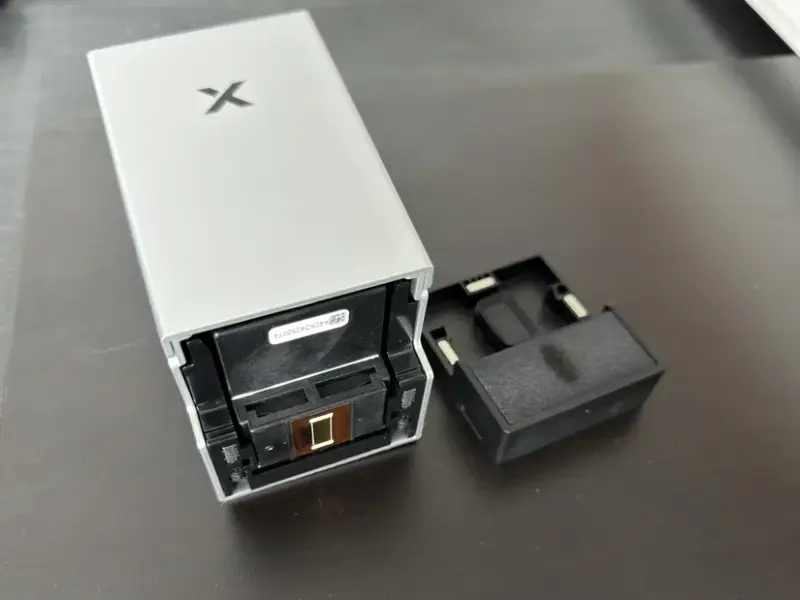
The inkjet module adds direct printing to compatible surfaces such as paper, wood and fabric. Its four-colour cartridge has separate cyan, magenta, yellow and black inks. Having a dedicated black channel helps produce darker blacks than a process that mixes the other colours to approximate black. The updated moisture sponge helps keep the print head from drying out, and a cleaning sponge prepares the nozzles before printing.
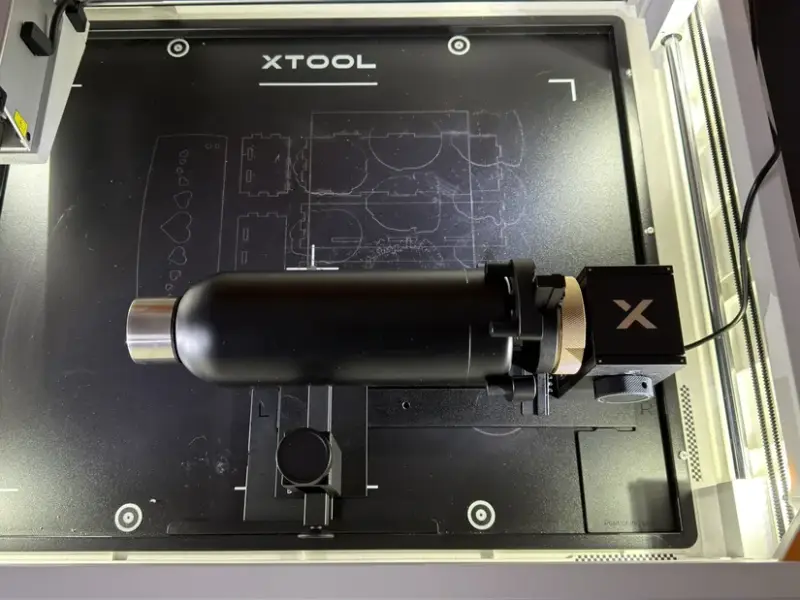
The optional RA3 Lite rotary kit supports cylindrical and rounded workpieces, including tumblers, mugs, rings, ornaments and spheres. Its arrangement differs from rotary systems that lift the machine on a riser: the M2 turns the laser module on its side and points it toward the attachment. The rotary sits in the bottom-right area of the enclosure, with spacers used for alignment. The setup accommodates objects up to 100 mm in diameter without increasing the machine’s height.
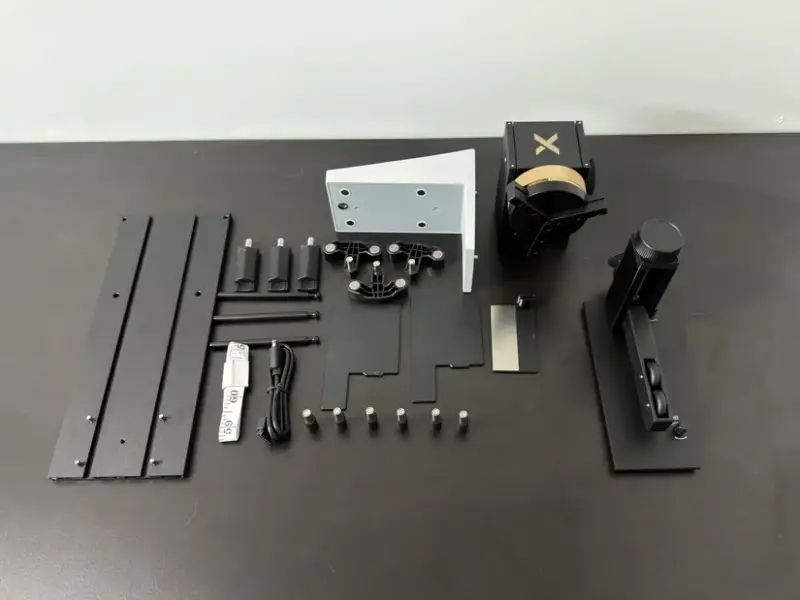
Interchangeable jaws hold different shapes and diameters, while supports help keep longer workpieces level. xTool Studio provides a live rotary preview for positioning and wrapping the design. The measurement process also changes: the machine first touches the RA3 to establish a reference, then measures the object at its highest point to set the engraving distance.
Clearance needs attention when using the diode laser. The laser shield can contact the rotary jaws, so the design should be framed to check the shield’s path before engraving. When the workpiece allows it, holding it by its inside rim can keep the jaws farther from the shield. Follow the attachment’s setup guidance and the machine’s safety instructions.
xTool Studio and project preparation
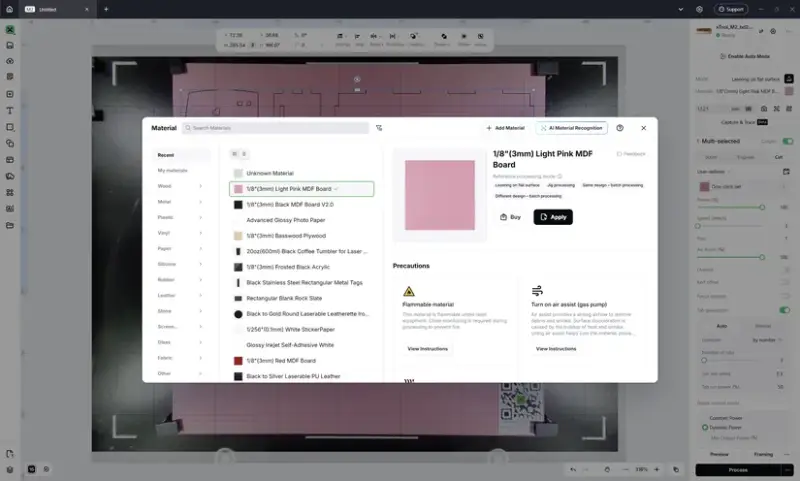
xTool Studio brings device controls, camera positioning, design tools and processing settings into one workspace. Its material library contains more than 1,300 materials and thousands of parameter combinations, giving users a starting point for power, speed and pass count. Presets can shorten setup, though the tests showed that some materials need adjustments for the desired finish.
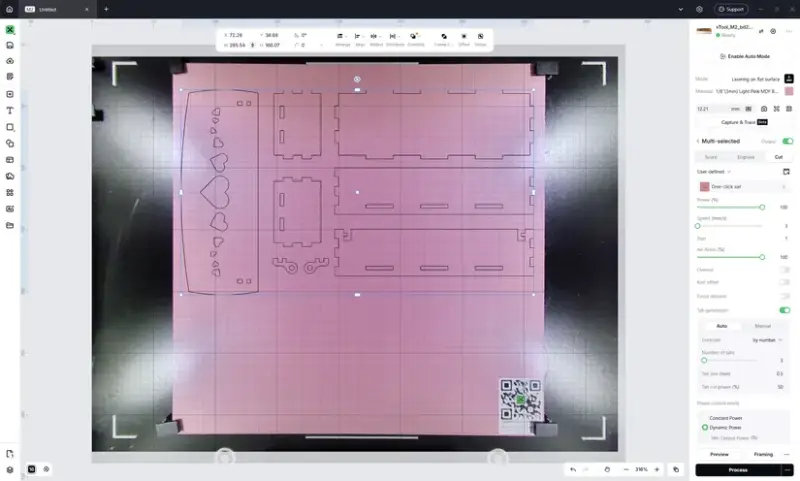
The software includes tools for generating artwork from text prompts, refining images, removing backgrounds, tracing edges, preparing images for engraving and applying visual styles. These can help users turn a rough concept into an engravable design without switching between several graphics programs. The online Atomm community also provides downloadable designs, templates and project ideas, alongside tools for artwork generation and image-to-vector conversion.
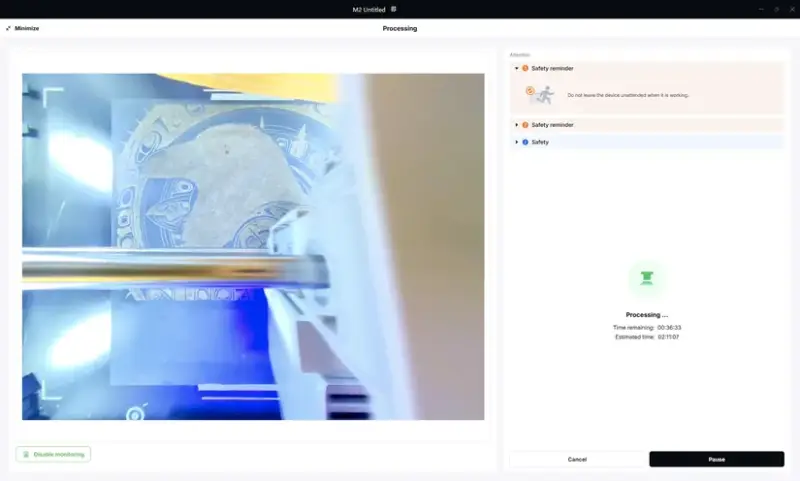
Engraving tests: wood, slate and leather
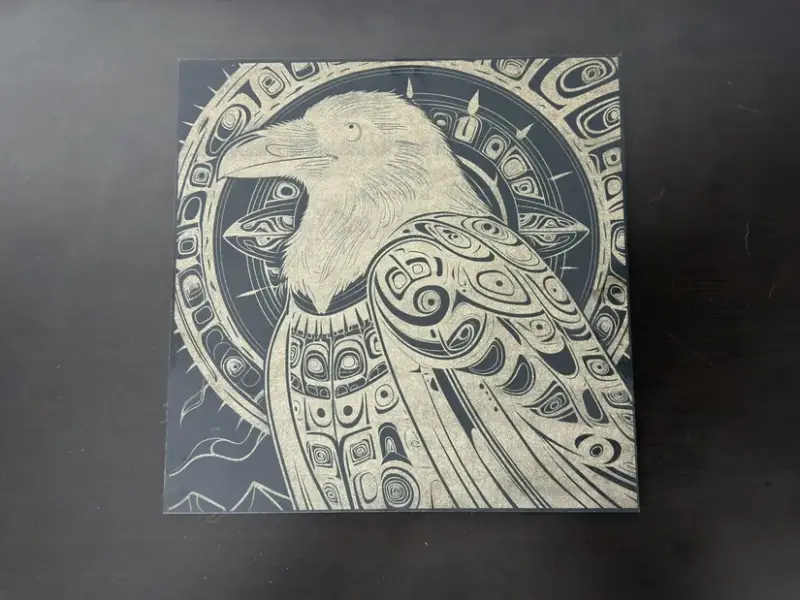
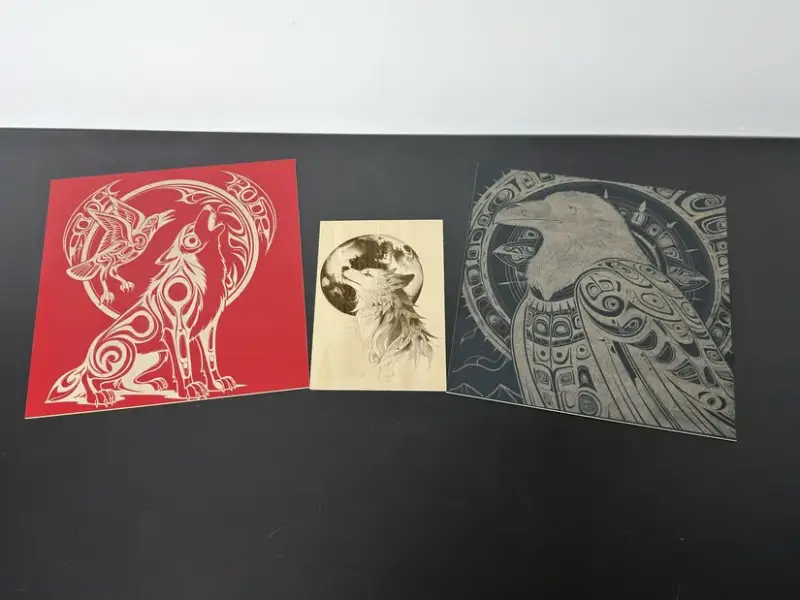
The tests began with three wood engravings using the material library’s recommendations as a baseline. On coloured MDF, the suggested 35% power did not remove enough of the surface layer to expose the lighter core, so power was raised to 45%. Both MDF designs were engraved at 100 lines per centimetre.
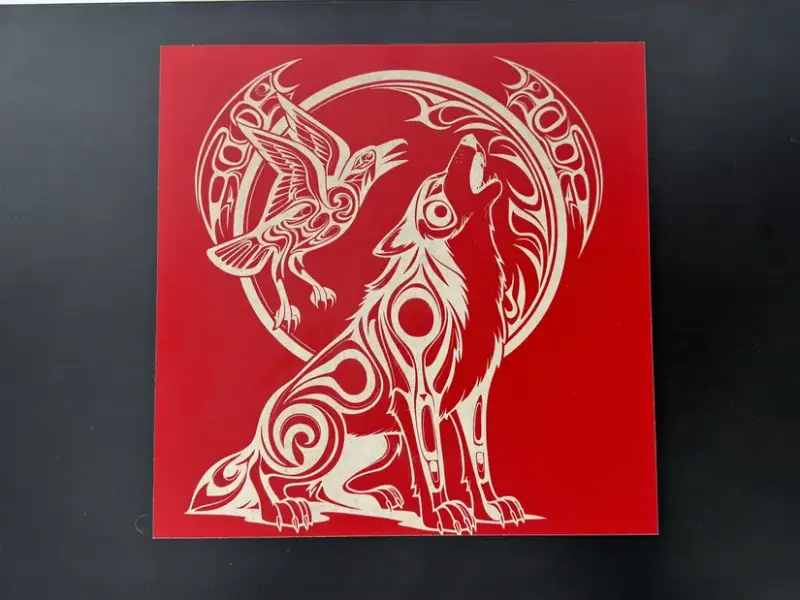
The red MDF produced a clear contrast between its coloured face and exposed core. A second raven design on black MDF also had well-defined edges, though some black colour bled into the lighter core. Each MDF job took just over two hours, making image density and engraving time practical considerations for larger designs.
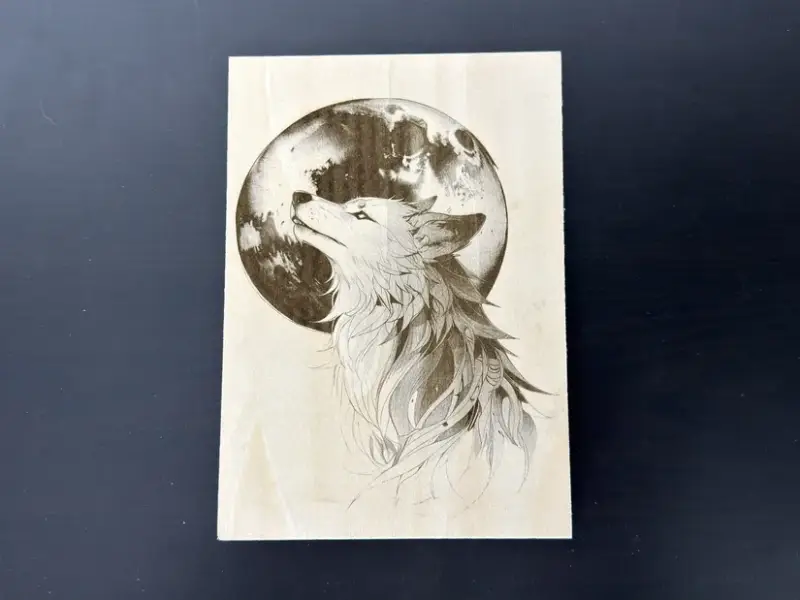
On basswood, the recommended preset produced a sharp wolf image without adjustment. That engraving took 26 minutes using the 10W module. The result suggests the lower-power option can handle detailed engraving efficiently when the material and preset are a good match.
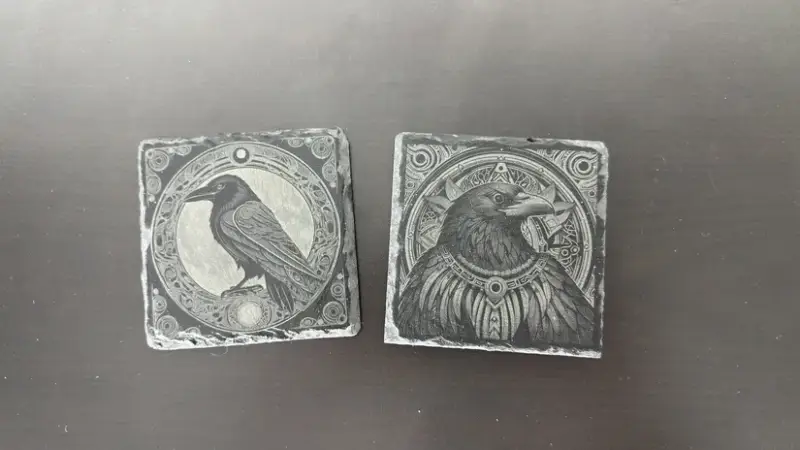
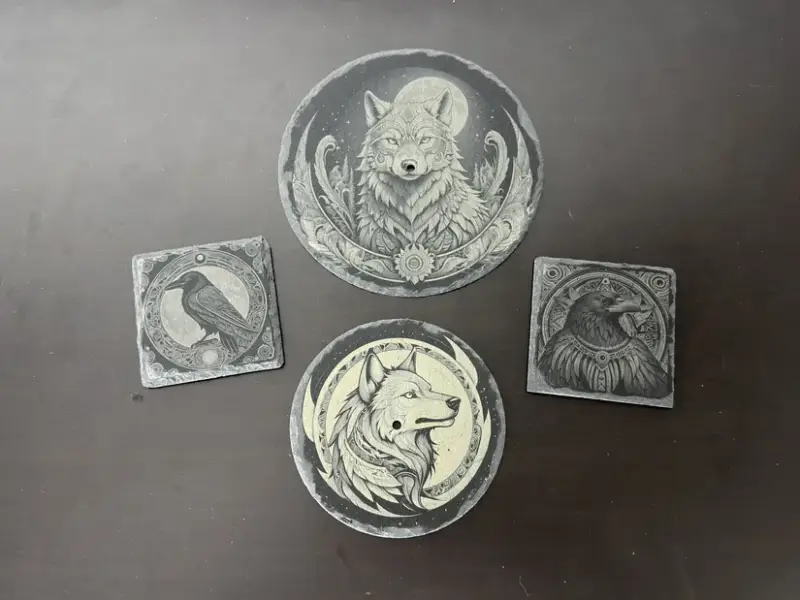
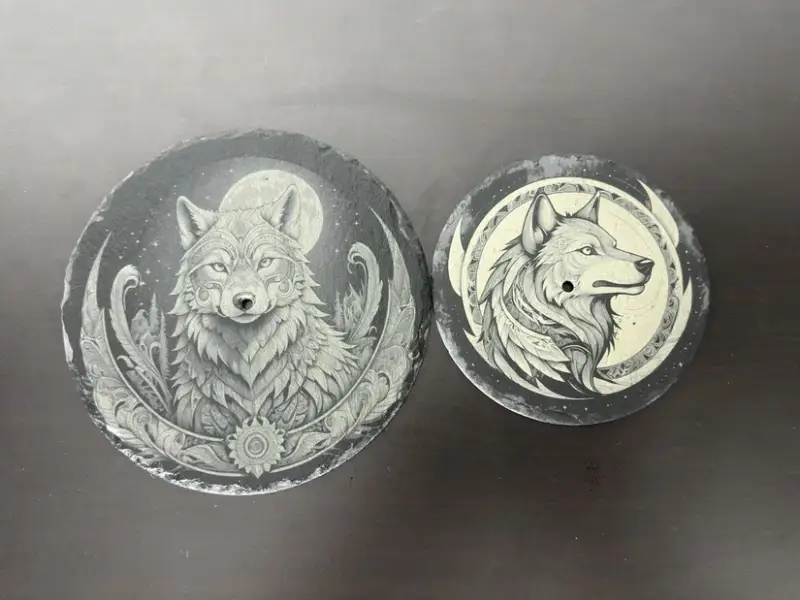
Slate examples included raven and wolf artwork on coasters and round pieces. No processing settings or timings were recorded for these samples, so they show the kind of finished work produced but don’t provide a basis for comparing speed or parameter choices.
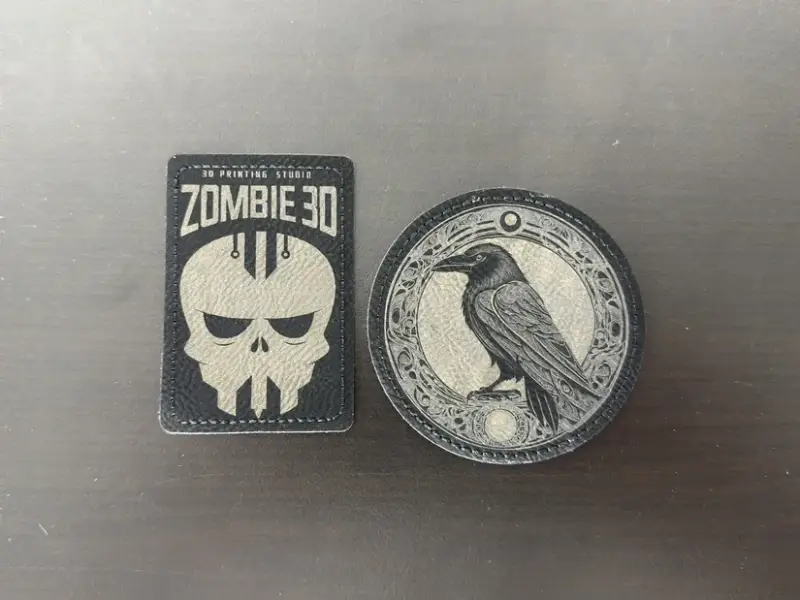
Colour-change leather patches were engraved with a studio logo and an original raven illustration. The image had not been converted into a depth map before engraving. Fine details remained visible, and the patch’s changed surface colour made the designs legible. xTool sells these patches in several colours and styles; the tested settings came from the software’s material library.
Cutting, metal marking and rotary engraving
For cutting, the machine processed 3 mm basswood and pink MDF into two small hinged boxes with heart designs on their lids. Each box took about 16 minutes. Magnetic stand clips raised the stock above the bed. Tabs kept cut parts from dropping through the supports as the remaining geometry was processed; three tabs were added to each piece, with tab-cutting power reduced to 50% to ease removal.
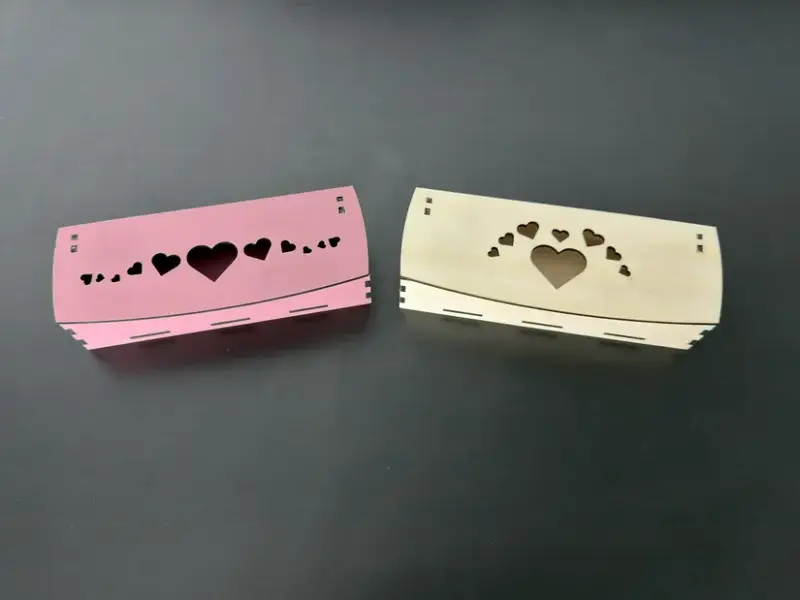
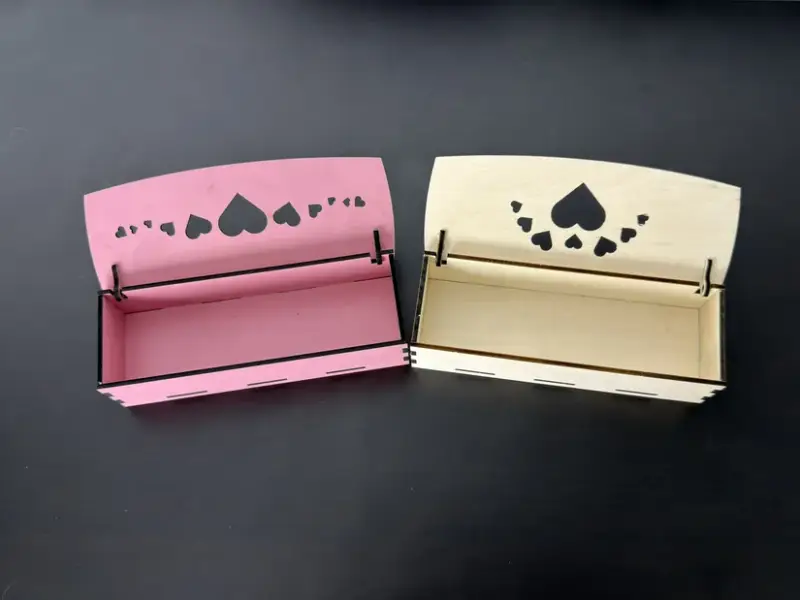
Both boxes had clean edges, with no visible singeing around the cuts. The test used stand-offs and tabs as part of the job setup, showing that cut quality depends on how the work is supported as well as on the laser parameters.
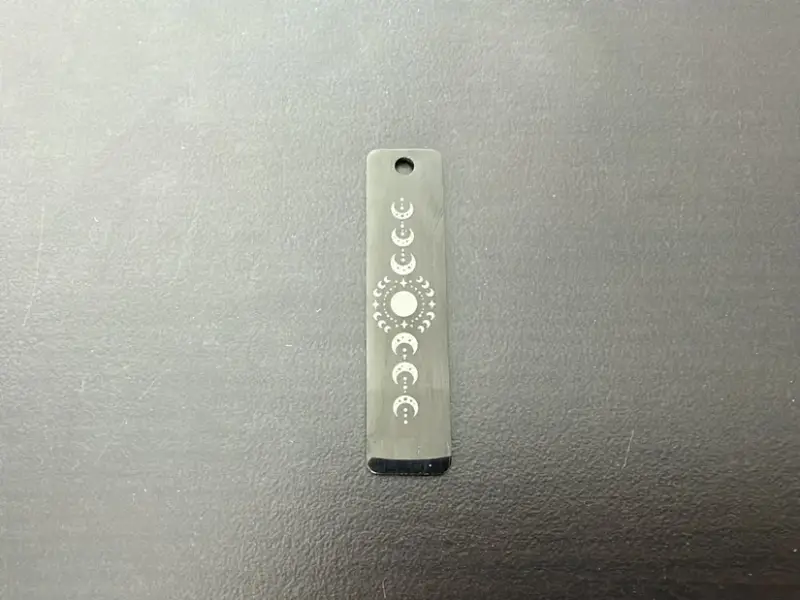
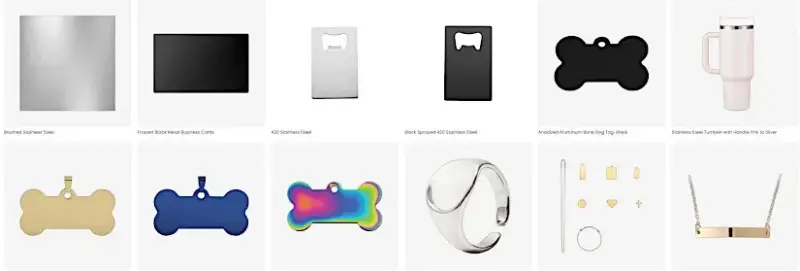
An anodized pendant provided a small metal-marking test. The diode laser removed the anodized coating to reveal the metal beneath. The material preset was used with power increased by 10%; the moon-phase design took about 15 minutes and had clear contrast against the black surface. This result applies to the anodized surface tested and shouldn’t be read as a claim that the diode module engraves every metal.
With the RA3 Lite, the M2 engraved a tumbler using the recommended settings. The finished image had sharp edges, and its gradient areas remained visible. The sideways laser mounting and rotary alignment are distinct from a flat-bed job, and the shield-to-jaw clearance check is an essential part of preparing the work.
Printing and print-and-cut work
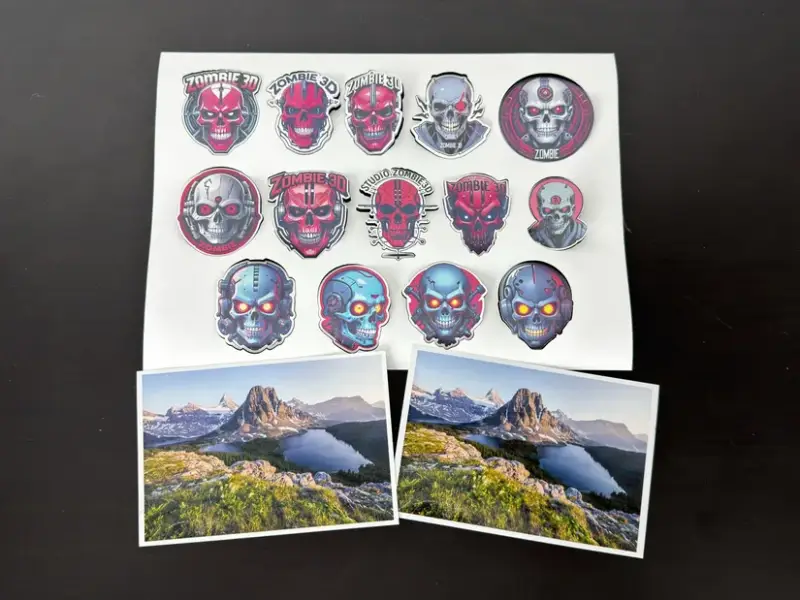
The inkjet module printed a designed sticker sheet, which was then cut by the laser. Tabs helped keep the individual stickers in place when the air assist was running. The tested cut used 95% power at 13 mm/s; paper type and thickness may call for different values to limit edge singeing. The sticker stock must also be suitable for laser processing. PVC-based vinyl must not be laser-cut because it can produce hazardous, corrosive fumes.
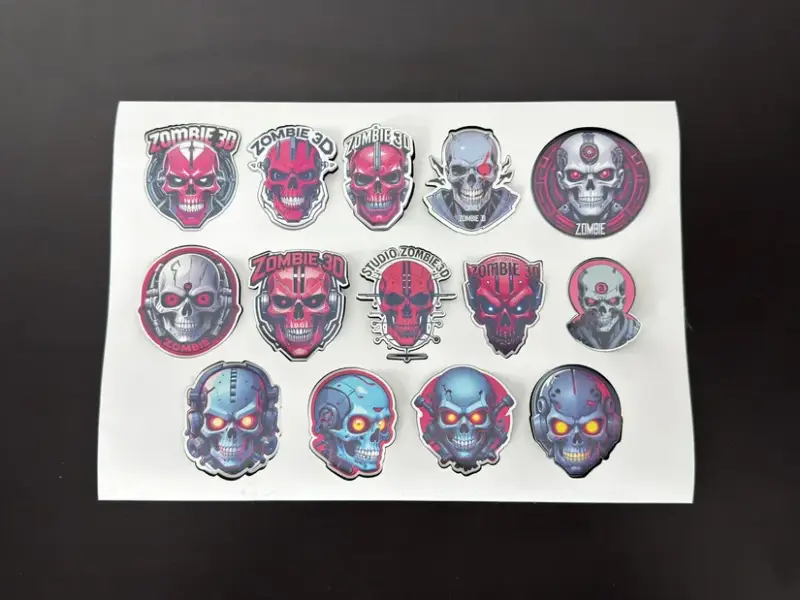
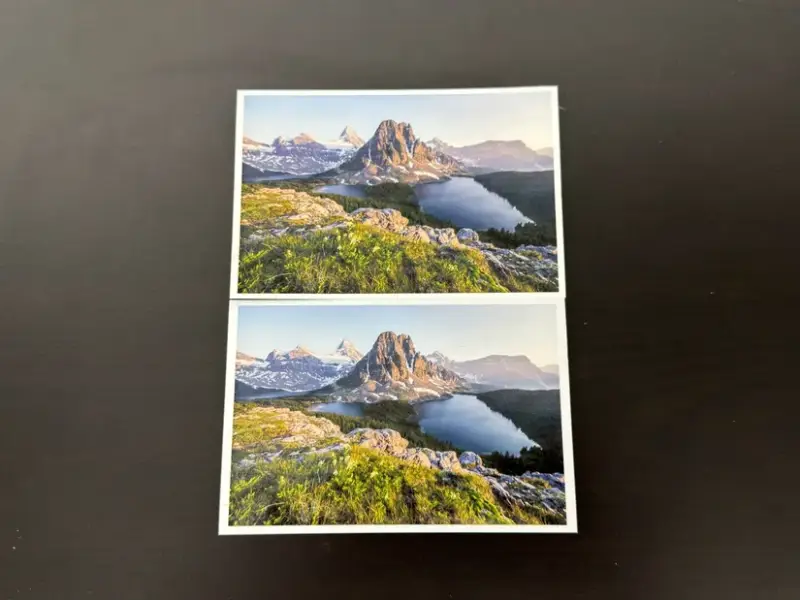
The sticker colours were vivid and the cut outlines were accurate. For photographs, the same landscape image was printed on matte and glossy paper. Both versions came out well, with the glossy print judged the stronger result. xTool Studio monitors the cartridge’s remaining ink, while the maintenance assembly cleans the print head before each job.
Materials, fit and practical trade-offs
xTool’s materials database pairs material listings with machine settings, which can help with project planning. Presets are a useful first pass, as the coloured MDF and pendant tests illustrate: each needed a power increase to achieve the intended surface treatment. Users should treat settings as a starting point and account for stock variation, finish, thickness and the result they want.
The M2’s defining trade-off is breadth of workflow rather than maximum laser power. Its optional printer and tool-free module changes support projects that combine colour graphics with engraving or cutting. The 20W diode option raises the listed single-pass basswood capacity over the 10W version, while other systems may offer more laser power or focus on a narrower engraving task. Compared with the M1 Ultra, the M2 gives up blade cutting for a more focused laser-and-print configuration.
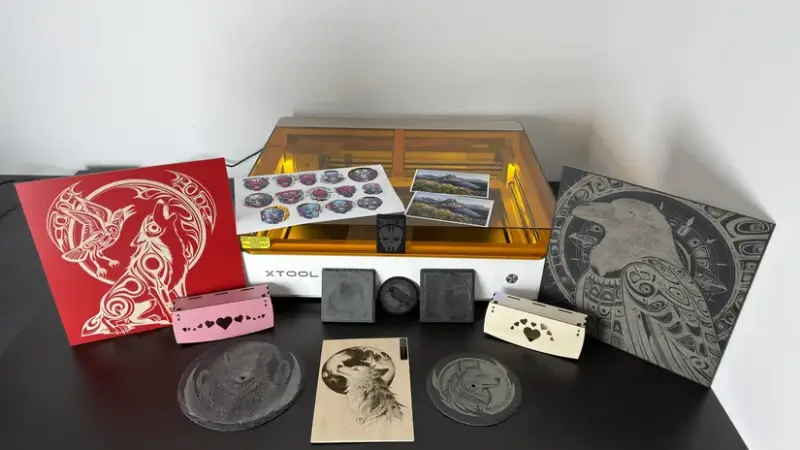
For makers who need an enclosed desktop machine for personalized objects, small wooden parts, surface engraving and printed cutouts, the M2 covers a wide range of work in one footprint. Its most persuasive results here were the detailed basswood engraving, clean 3 mm box cuts and combined sticker printing and cutting. The key purchasing decision is whether that mix of functions fits the work: buyers should choose the laser power and optional modules around their materials, part sizes and production needs.